In part two of our tutorial... ;)
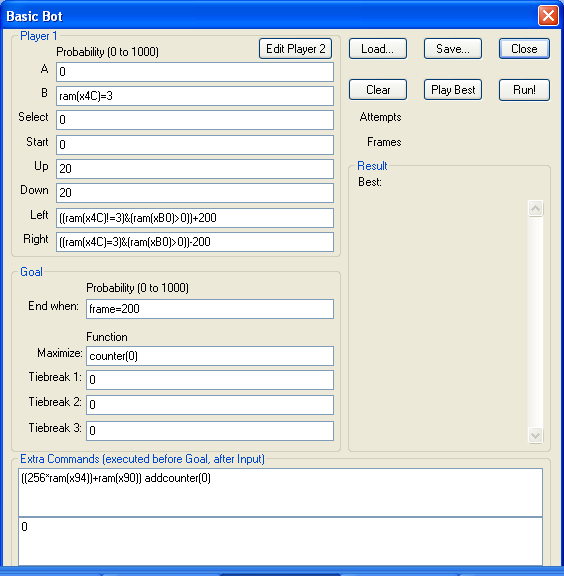
Well I was looking at the source to see how easy it would be to add a command that could set the probabilities. I had noticed that the code reserved 24 fields of 1k bytes (that's quite a lot, relatively speaking, if you don't use at least 16 of those fields...). Until I noticed that the code also evaluates the lines of probability before each frame (and suddenly it became clear why there was so much space for "just a number" :p).
This suddenly makes the whole thing very very powerfull...
For instance, with just 50/50 odds the left and right button will be pressed for one frame, and not the other, both, resulting in going sorta forward. Let's change that...
Left button:
c(1) ? 800 : 500
Right button:
c(2) ? 800 : 500

Extra code:
rc(1) rc(2)
(0 < left button) ? 1 ac(1)
(0 < right button) ? 1 ac(2)
Let's start with the extra code. This resets counters 1 and 2. Then increases the counter if left or right is pressed. This state is remembered in subsequent frames (until the extra code resets it, which is done AFTER the input).
So when the input fields are processed, 1 and 2 will hold the proper value to whether left and right are pressed. Keep in mind that this information is reset in "button" at the beginning of a new frame!
Now this is nice, but you'll notice that a lot of the times left and right are pressed together... We don't want this effect so we'll change the code a little bit...
Left button:
300 setcounter(3)
c(1) ? 800 setcounter(3)
c(2) ? 0 setcounter(3) : 0
c(3)

Right button:
300 setcounter(3)
c(2) ? 800 setcounter(3)
c(1) ? 0 setcounter(3) : 0
c(3)
The extra code remains the same. Now this code looks a little odd, but we can't nest loops and if?then:else expressions. At least it kept borking up when I was experimenting. So we'll use a third temp counter, initiate to one of the values that could be returned (the default probability), and change it if a condition is met (if this button was pressed, set probability to 800, if other button was pressed, dont press this button).
You'll now notice that both buttons are never pressed at once. The code is added to the line without returns. No extra brackets are required.
300 setcounter(3) c(1) ? 800 setcounter(3) c(2) ? 0 setcounter(3) : 0 c(3)
300 setcounter(3) c(2) ? 800 setcounter(3) c(1) ? 0 setcounter(3) : 0 c(3)
or look at
this file :)
The same goes for certain events. Like when you need to jump because there's a gap or an enemy near. If the software can detect it, so can this bot! It's just a little harder for us because we don't have documented source codes to figure out what happens when. You have to reverse-engineer this data before you can use it. But once you have it, you can put it in the bot and put it to good use :)
In "3D battles of world runner" you have to jump over gaps. Range 06C0 - 070F is reserved for showing the ground/gaps in visual range. The game only uses the lower byte (seems a waste, but whatever). At level start, this range is set to XE (I've only seen 1E, but maybe this can differ). When a gap shows at the horizon, 06C0 is set to X4 (probably 14). As the gap gets closer, the next bytes get set to XE, the first few after 16 frames, but the closer it gets, the lower the interval. When you are not in the air and 0x070D gets set to X4, you _will_ die. So, this is what we're going to do in the bot for the A button (jump):
((mem(x070C)&xFF)=4)?1000:0
Jump at the last possible moment when a gap approaches, but never anywhere else.


 (the bottom was clipped off a bit)


